Agricultural Literacy Curriculum Matrix
Companion Resource
Sprouting Success
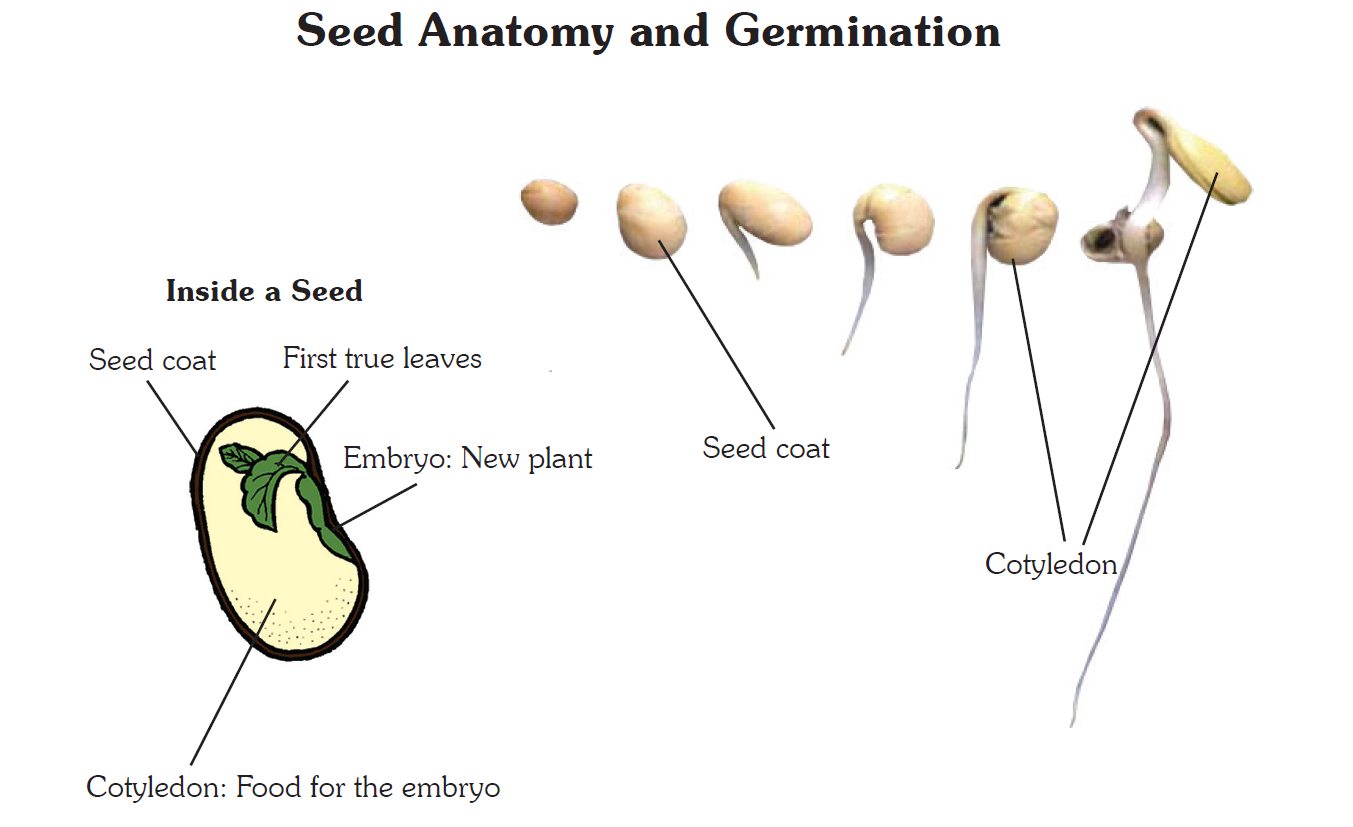
This activity provides basic instructions for growing edible sprouts. By sprouting seeds in your classroom, students can learn about the science of seed germination, plant growth, and how sprouts can contribute to a healthy diet. A seed is the miraculous start of a new plant. It contains all the food a new plant will need until its leaves reach sunlight and begin to make more food for the plant. Seeds are essential to agriculture and are the original source of much of our food, clothing, and shelter. Understanding agriculture and its role in civilization can provide a context for understanding social studies, science, and nutrition. Seeds need warmth, moisture, oxygen, and sometimes light or darkness to germinate. Changing these variables will produce measurably different results students can experiment with to explore the scientific method.
Materials
- Clean, wide-mouth mason jar
- Wide-mouth jar collar or elastic
- 5" x 5" clean piece of screen
- Sprouting seeds
Procedures
Sprouting Instructions
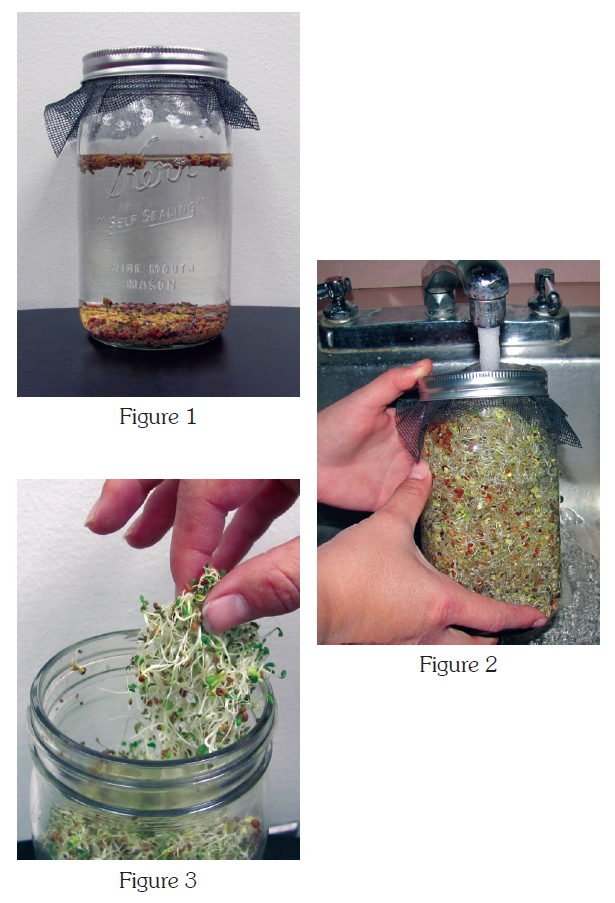 Place the seeds into a clean, wide-mouth mason jar. Add water to completely soak the seeds. Place the screen over the jar opening and secure with an elastic or jar collar (Figure 1). Note: Purchase seeds that are specifically produced for sprouting. Seeds for gardening are often chemically treated and are not safe for consumption. It is very important to start with a clean jar and clean water to minimize any potential contamination.
- Set the jar on a counter (preferably not in direct sunlight) at room temperature.
- Soak the seeds for 8-12 hours, then rinse and drain thoroughly.
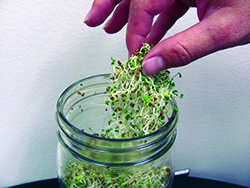
- Rinse every 8-12 hours and drain thoroughly between rinsings. Note: There is no need to touch the sprouts, and it should be avoided to reduce the risk of contamination (Figure 2).
- Rinse and drain for the next 2-3 or 4-6 days, depending on seed type, until the sprouts reach desired size for harvest.
- Ready to harvest? Be sure to drain the sprouts as thoroughly as possible after the final rinse. The goal is to minimize the surface moisture of your sprouts—they will store best in your refrigerator if they are dry to the touch, so be sure to drain them very thoroughly after the final rinse.
- Transfer your sprout crop to a plastic bag or a sealed container and put it in the refrigerator (Figure 3). Note: Sprouts should be eaten within 3-4 days of harvest.
Activities
- Students can predict, in inches or centimeters, how far sprouts will fill the jar.
- Ask students to predict how many seeds will germinate—10%, 50%, or 100%? Want to find out? Students can practice their math skills by conducting simple a rag doll germination test.
- Consider dissecting large bean seeds to see the parts of a seed that will become the sprout.
- Students can grow a “farm in a glove” with a food handler’s glove to compare and contrast different seeds as they grow and make predictions about the sprouts’ growth.
- Discuss sprout nutrition information and compare the nutrients to other foods. A list of resources providing sprout nutrition information is available from sproutpeople.org.
File, Map, or Graphic
Author
Lessons Associated with this Resource
- Serious Cereal Science
- Farming in a Glove (Grades K-2)
- Seeds, Miraculous Seeds
- The Seed Match
- My Little Seed House and Seed Book
- Farming in a Glove (Grades 3-5)