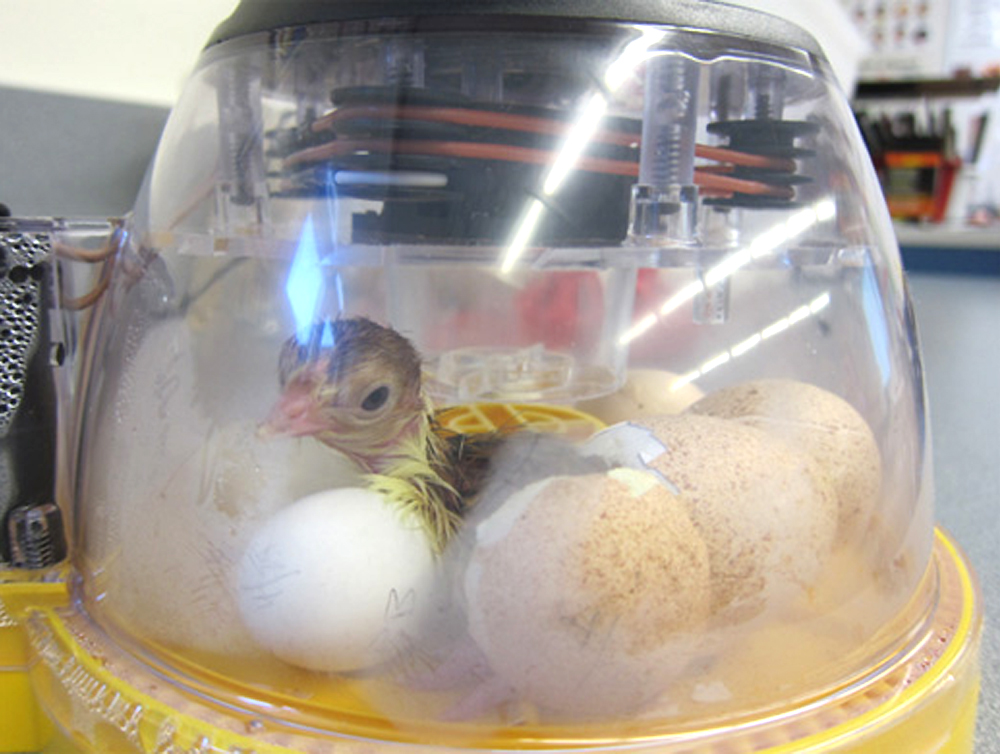
Incubators
Buying Incubators
Buying an incubator is like buying a car—there are numerous models, sizes, and price ranges from which to choose! It is important to consider the features of each incubator and choose the model which best fits your classroom needs. A thorough online search will provide a range of prices. Keep in mind what your goals are for your personal hatching project. Each model has its pros and cons, and some will not do well when incubating eggs for the full 21 days, while others will have more features than are needed for eggs that will only be in the classroom for three days.
The following sites sell quality incubators:
- Amazon (search egg incubator)
- Brinsea
- Fleming Outdoors
Using Incubators
The most important part of using an incubator is making sure that it holds a steady and consistent temperature and humidity for the entire time that the eggs are being incubated. You can ensure this by following these steps:
- Find the most temperature stable location in your classroom before you set up the incubator. Good functioning incubators may still have a hard time compensating for dramatic changes in room temperature, so using a min/max thermometer (a thermometer that records minimum and maximum temperatures) to locate the best place to keep the incubator is highly recommended.
- Plug in and test your incubator at least two weeks before you put eggs in it. Most companies who sell incubators guarantee their product, but you will need time to test it and ship the old one back and get a new one if you have any problems. If your eggs are already scheduled to be in your classroom, you may not have time—so get an early start on this step!
- If you are using 18-day eggs from Thanksgiving Point, you do not need to worry as much about humidity. However, if you plan to have chicks in your classroom for the full 21-day hatching period, you may want to invest in a hygrometer—a tool to measure humidity. Many models of hygrometers are available for around $20 to $30 have remote probes that can be placed inside an incubator to transmit the information to a screen outside, and some are combined with thermometers so you can receive temperature information as well.
Preparing the Incubator

Before incubating the eggs, make sure the incubator is working properly and that you know how to operate it. Pour warm water into the humidity reservoir, and adjust the heat source until the incubator temperature stays between 99°F and 102°F. Check the thermometer frequently for at least 24 hours before incubation to ensure the correct temperature is being maintained.
When eggs are placed into an incubator operating at the proper temperature, the temperature will drop. Do not adjust the thermostat during this warming up period. The time that the temperature in the unit will remain below normal depends upon the temperature of the eggs and the capacity of the heating unit. Warming the eggs to room temperature prior to placing them in the incubator will reduce this lag time.
Operating the Incubator
Temperature—Maintain the temperature in the incubator between 99°F-102°F (100°F-101°F is ideal). Place the thermometer level with or slightly above where the center of the egg will be. Overheating the embryo is much more damaging than under-heating. However, long periods of low temperatures will reduce the rate of embryo development.
Humidity—The moisture level in the incubator should be about 50-55% relative humidity, with an increase to about 65% for the last three days of incubation. Moisture is provided by a water reservoir in the incubator. Add warm water to the pan as necessary. If more humidity is needed, increase the size of the pan or add a wet sponge. Humidity adjustment can also be made by increasing or decreasing ventilation.
Ventilation—Ventilation is adjusted by increasing or decreasing openings in the sides or top of the incubator. Normal air exchange is needed during embryo development and should be increased as the chicks begin to hatch. The embryo needs oxygen and carbon dioxide. However, the correct relative humidity must be maintained until most of the chicks are out of their shells. Unless absolutely necessary, do not open the incubator during the last three days of incubation.
Turning—The eggs should be placed into the incubator on their sides. During the first 18 days of incubation, the eggs must be turned at least 3 times a day so that the embryo does not adhere to the wall of the egg. Stop turning the eggs during the last 3 days. If you are hatching 18-day eggs, they do not require turning. Turn the eggs an odd number of times so the position that is up the longest (at night) will be changed daily. Mark an X on each egg with a pencil so you can tell if the eggs have been turned. When turning the eggs, move them to a different part of the tray to minimize the effects of temperature variation in the incubator.
