Candling Eggs
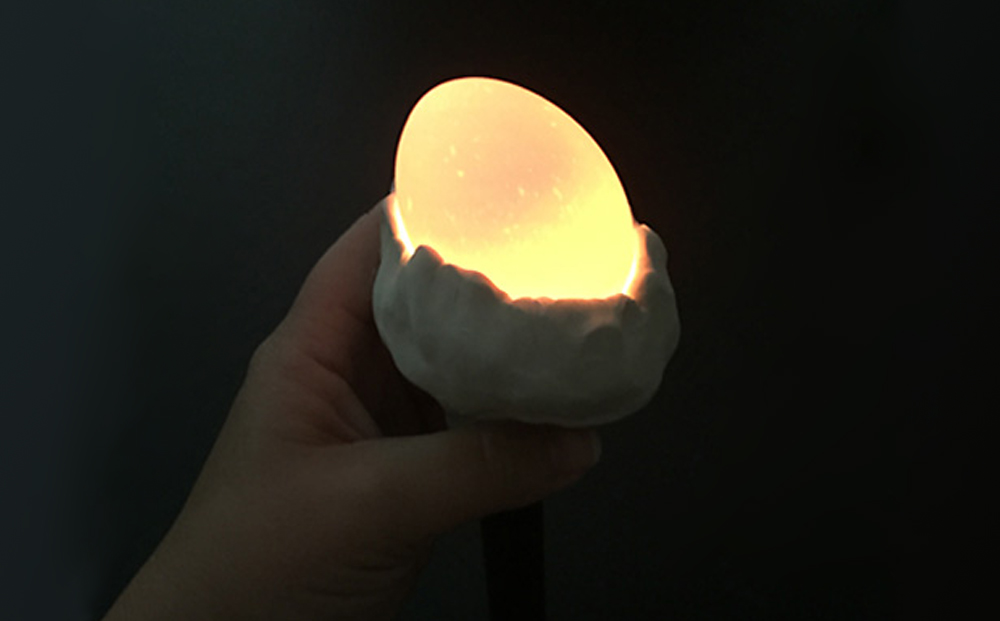 Did you know that you can see into an egg before it hatches without breaking it open? Candling is a simple and effective way to show students that there is life inside the egg. In a dark room, shining a bright light through the shell of a fertile egg will silhouette the developing embryo, showing the outline of blood vessels, details of the chick's body, and the air cell.
Inside the Egg: Hatching Chicks is a Utah Agriculture in the Classroom lesson plan that explores the hatching cycle of an egg and explains how to build a home-made egg candler out of basic materials.
The inside of the egg will change as the chick grows and prepares to hatch. The air cell grows larger, the blood vessels join the chick's body and eventually disappear. The movement that begins around day nine will begin to slow down around day 18 when the chick becomes so large inside the egg that there is no longer room for it to move around. Around day 20, as the chick prepares to hatch, you will be able to hear chirps from inside the egg. If you candle at this point, you will be able to see the chick's head poking up into the air cell. This indicates that the chick is preparing to hatch.
White eggs are easiest to see into when candling. Some colored eggs may be difficult to candle. Candling the eggs gently will not affect embryo development. Only remove the eggs from the incubator a few times during incubation. To maintain a safe internal temperature, only keep the eggs outside of the incubator for a few minutes.
Photos and videos of candling eggs at different stages of incubation can be viewed at backyardchickens.com.