Agricultural Literacy Curriculum Matrix
Companion Resource

A Seedy Fruit Challenge
This activity teaches students to identify different types of fruits and categorize them into two main groups based on whether they are dry or fleshy. Students will follow a worksheet and complete a lab assignment where they dissect various fruits.
Time to Complete
Materials
For the teacher demonstration:
- Seeded orange
- Apple or pear
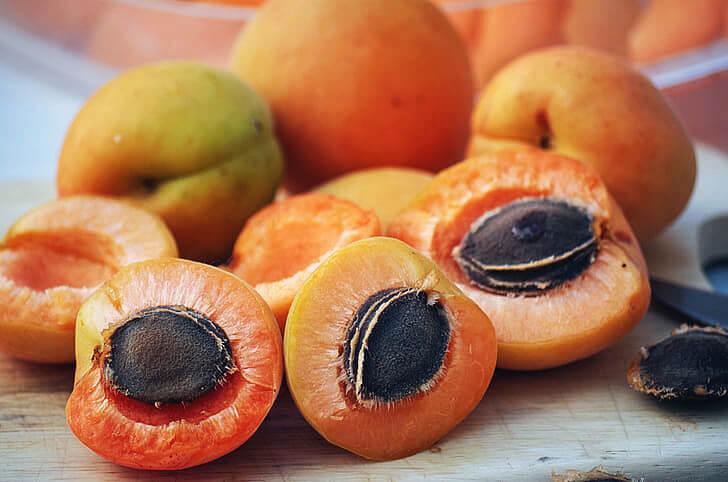
- Peach, plum, apricot or other stone fruit
For the class:
(Three of each or adjust to what is available)
- Seeded orange
- Apple
- Peach
- Bell pepper
- Pea pod
- Tomato
- Cucumber
- Berries
- Peanut
- One paper plate for each piece of fruit
- Scales for weighing fruit
For each partnership:
- An assortment of three different fruits, such as: seeded orange, apple, bell pepper, and a peanut
- Paper towels
- Sharp plastic knife
- One paper plate for each fruit given
For each student:
- A Seedy Fruit Challenge student lab worksheets
Procedures
- Facilitate a discussion with students about different fresh foods they eat that have seeds. Make a list of these foods on the board. Ask them if the foods are fruits or vegetables (botanically, fruits have seeds; vegetables come from another part of the plant and don’t contain seeds).
- Tell students that they will dissect fruits to observe and record where the seeds are located, how many seeds they have, and the size, color, texture, and shape of the seeds in each fruit.
- Distribute student lab, A Seedy Fruit Challenge to each student. Explain what is expected of the students with the lab worksheet. Demonstrate how to make a bar graph.
- Divide students into groups of three or four. Distribute newspaper, paper plates, plastic knife, paper towels, and three to five pieces of fruit to each group.
- Instruct students to weigh each piece of fruit before cutting into it.
- Instruct students to place each piece of fruit on a paper plate and carefully dissect it with a plastic knife being careful to keep the fruit’s juices on the plate.
- Upon completion, discuss the results as a class.
File, Map, or Graphic
Author
Organization
Sources
This lesson was originally developed in 1993 through a partnership between the California Department of Food and Agriculture, California Farm Bureau Federation, Fertilizer Inspection Advisory Board, Fertilizer Research and Education Program and the California Foundation for Agriculture in the Classroom. It was updated in 2013 with funding from the California Foundation for Agriculture in the Classroom and a grant from the California Department of Food and Agriculture’s Fertilizer Research and Education Program.
Original Author: Pamela Emery
Executive Director: Judy Culbertson
Illustrator: Erik Davison
Layout and Design: Nina Danner
Lessons Associated with this Resource
- Give Me Five!
- Nutritional Value of Fresh Produce
- Esperanza Rising
- FoodMASTER: Fruits
- Making Half MyPlate Fruits and Vegetables
- My Life as a Fruit or Vegetable
- Tree-mendous Fruits
